|
|
|
|
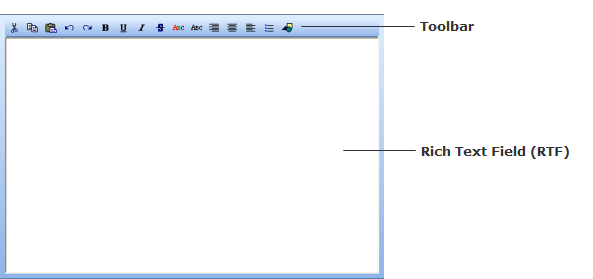
The Rich Text Format (RTF) editor is used throughout the Competency Intelligence application. The RTF works like an external text editor, meaning you can directly type text and insert images into the field or copy and paste text and images from an external source, such as Microsoft Word. The formatting of your content may or may not be maintained, depending on the type of editor you are copying from. Text from a webpage or a file, such as a PDF, can be copied as well; however, most of the formatting will be lost, and the images will not be copied. Once you have entered content into the RTF, it can be formatted with the toolbar.
The toolbar is used to format the text and images you have entered into the RTF. Many of the toolbar icons may look familiar to you already. The function of each icon is explained below.
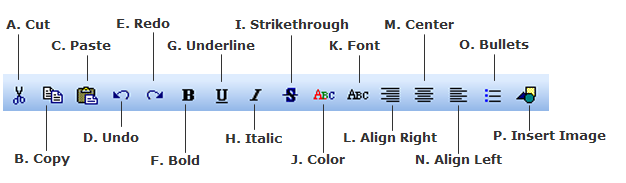
A. Cut: Deletes selected text or images.
B. Copy: Copies selected text or images to be pasted in a different section of the RTF or to an outside source.
C. Paste: Pastes copied text or images into the RTF or an external source.
D. Undo: Allows you to undo the last change you made in the editor. You can undo an unlimited number of changes.
E. Redo: Allows you to redo the last undo you made in the editor. You can redo an unlimited number of changes.
F. Bold: Applies bold formatting to selected text.
G. Underline: Applies underline formatting to the selected text.
H. Italic: Applies italicized formatting to selected text.
I. Strikethrough: Applies strikethrough formatting to selected text.
J. Font Color: Allows you to change the font color. You can use multiple colors in the RTF.
K. Font: Allows you to change the font type, style, size, and script.
L. Align Right: Aligns text or images to the right.
M. Center: Centers text or images.
N. Align Left: Aligns text or images to the left.
O. Bullets: Allows you to create a single bulleted item or a bulleted list.
P. Insert Image: Allows you to insert an image from your computer.
The easiest way to format your RTF content is to highlight/select the text and images, then click on the appropriate icon (rather than clicking on an icon and typing out your text).
To apply bold, underline, italic, or strikethrough formatting:
Highlight the desired text to format.
Click on the Bold, Italic, Underline, or Strikethrough icon on the toolbar.
To create a bulleted item or list:
Highlight the desired text. The image below shows a list of words that have been highlighted.
Click on the Bullets icon. The list of words is now a bulleted list.
You can place a bullet in front of just one word or line of text, or you can create a bulleted list. When you are typing content for a bulleted list, each time you press "Enter" this creates a new hidden "paragraph" mark and also indicates where to insert a new bullet.
To change font color:
Highlight the desired text to format.
Click on the Color icon. A dialog box appears.
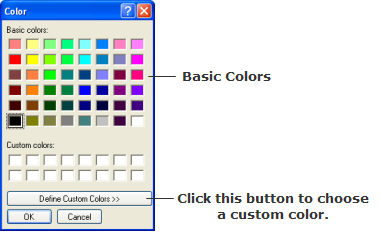
Click on a colored box, then click "OK."
You can also choose a custom color by clicking on the "Define Custom Colors" button—this expands the dialog box.
Click and hold your mouse in the large colored box and move your cursor around until you find the color you want. A preview of the color is shown in a box below. Click and hold the arrow on the right, then slide it up and down to change the color transparency.
Click “OK.”
(Optional) Click the "Add to Custom Colors" button to save your custom color for future use. This is especially useful, if you have custom colors that you will use regularly. The image above in step 3 shows that a purple custom color has been saved. Click “OK” to save your changes.
To change the font type, style, size, or script:
Highlight the desired text.
Click on the Font icon. A dialog box appears.
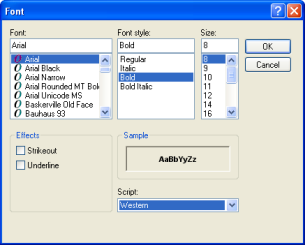
Format your text by choosing the font type (e.g. Verdana, Times New Roman), style (Regular, Italic, Bold, or Bold Italic), and size—you can also apply the strikeout and underline effect by clicking on the checkboxes under “Effects.” Choose a new script type from the dropdown menu, if necessary. A preview of your modified font is displayed under "Sample."
Click “OK” to save your changes.
To insert an image:
Click in the area in the RTF where you want your image to be placed.
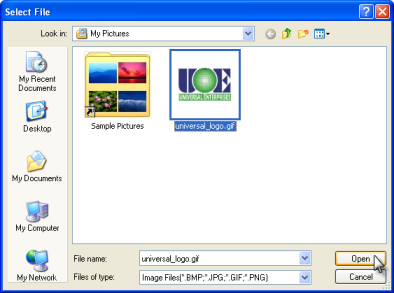
Click on the Insert Image icon. A dialog box will appear—its appearance will depend on your operating system.
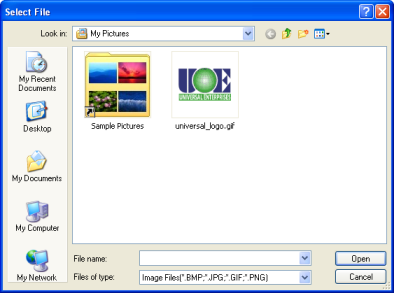
Choose an image from your computer (JPG, GIF, BMP, or PNG format), then click “OK.”
(Optional) Align the image, if necessary, by selecting it, then clicking on the Align Right, Center, or Align Left icon. Note: If the image is larger than the RTF, it will not be resized and part of the image will hidden. You must resize the image in an external program.
The following shortcut commands work exactly as the designated icon. You may find these shortcuts convenient to use.
Undo: Control + Z
Redo: Control + Y
Copy: Control + C
Paste: Control + V
Cut: Control + X
Select All (not a toolbar function): Press Control + A to select the entire RTF content—this would be useful for deleting all your content.
