|
|
|
|
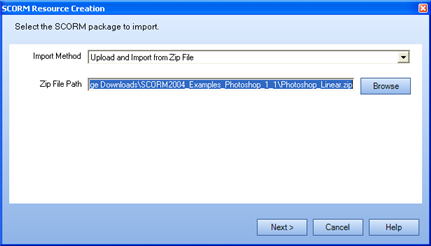
The SCORM Resource Creation dialog appears. ![]()
Upload and Import from Zip File
If a directory already exists for the SCORM zip package, a dialog appears with two options:
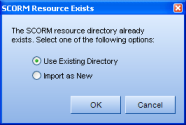
Use Existing Directory: Choose this option to use the existing directory
Import as New: Choose this option to create a new directory.
If no directory exists, the SCORM Resource Creation dialog appears (Step 6).
-or-
Import Existing Resource on Web Server
Click the ellipsis (...) button. A dialog box appears:
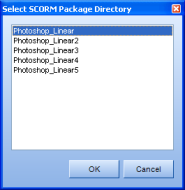
Choose one of the existing directories and click OK. If there are no directories, click Cancel and choose to Upload and Import from Zip File instead.
The second SCORM Resource Creation dialog appears. ![]()
The Properties pane in the Process Manager will display both the original SCORM name and the name you choose here.
Providing Knowledge and/or Providing Capability means that if these are set to Yes, and the SCORM module is successfully completed, the component(s) are considered complete (and will turn black).
Note: The packaging and breaking up of SCORM modules is dependent entirely on the SCORM module.
A new SCORM resource appears in edit mode, represented by the ![]() icon.
icon.
|
|
|
|