|
|

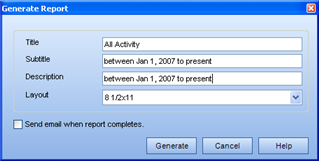
Title - Before generating a report, you must provide a name for the report. The Title field is populated with the name of the Report Template. The Report Template name and the Generated Report name can be the same - or you can choose to enter a different name.
Please note: Indicating the Report Type in your Generated Report Title is unnecessary. All Generated Reports will be listed under their corresponding Report Type in the Report Manager and the My Reports dialog.
Also, you cannot leave the Title field blank. The program will not allow you to generate the report without a Title.
Subtitle - text in this field will appear in the Header of the generated report, below the Report Type - Report Title line. Other than this location, this information will not be seen in the context view of the Report Manager (see Description). This field can be left blank if you wish. Below is an example of what would be seen in an Activity Report, using the information provided in the Generate Report graphic above.

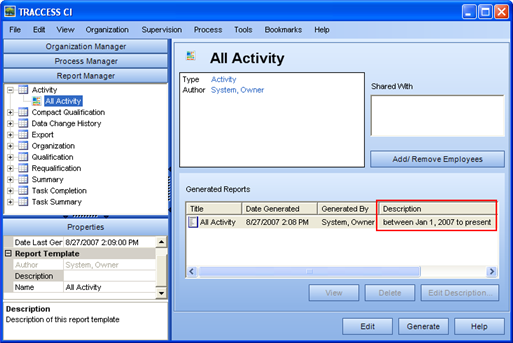
Description - text in this field will appear in the context view of the report manager, when the report template is selected in the tree view.

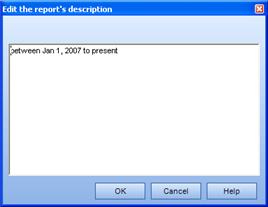
Contrary to the Subtitle, the Description can be changed after the report has been generated. To do so, right-click on the generated report in the context view, and select Edit.

Layout - What is set for the currently-logged in Employee will determine which paper type layout will default as shown first. For example, anyone who has "Letter" as their preferred paper type will get the "Letter" formatted reports. Anyone who has "A4" as their preferred paper type will get the "A4" formatted reports. The preferred paper type setting can be viewed in an Employee's Properties. The default setting is letter, however if you reside in an area that uses A4 paper, you can change the default (Tools/ Object Definitions/ Employee/ Preferred Paper Type) so that you will not need to reset this option for each Employee that is entered into the system.
Please note: Changing the default setting will affect each new employee that is entered into the system. All existing employees' properties will have to be changed manually (or by creating an import file to change Employee properties all at once - see Import Employees)
The Generate Report dialog will differ slightly depending on which report is currently being generated. This is to account for some different layout options on certain reports. The reports that have the Generate Report dialog are:
Activity Report
Data Change History Report
Organization Report
Qualification Report
Qualification (Compact) Report
Requalification Report
Self Qualification Report
Summary Report
Task Completion
Task Summary
The reports that have different Generate Report dialogs (the exceptions) are listed below.

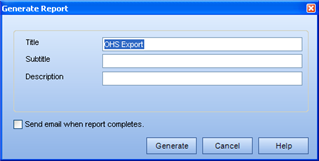
The Export report is the exception to every rule. You will never see the report formatted with a Header, Footer or Custom graphic. It simply produces a text file that can be used to import information into an ERP or HRIS system. Entering text into the Subtitle field is useless, since this information will never be seen anywhere. Entering text into the Description field will still be displayed in the context view when the report template is selected.
The Requalification and Task Completion Reports have the ability to report on many employees and tasks. It is difficult to determine where the page breaks would occur using Crystal Reports. These reports are therefore generated directly to Microsoft Excel.