Create Multi-Language Rich Text Property
- Select Tools/ Object Definitions from the main menu.
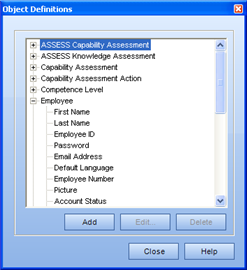
The Object Definitions dialog appears. 
-
- Select an object that you wish to add a property, and click Add.
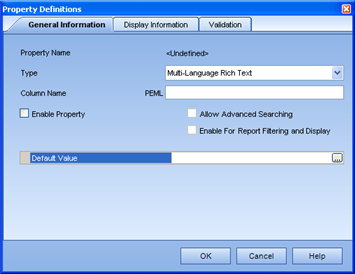
The Property Definitions dialog appears.
- Select Multi-Language Rich Text from the Type dropdown list.
The dialog changes to match the selection.
-
- Enter a Column name in the corresponding field.
- Select whether to enable or disable the property.
- Select whether or not to use the property editor.
- Enter a Default Value in the corresponding field.
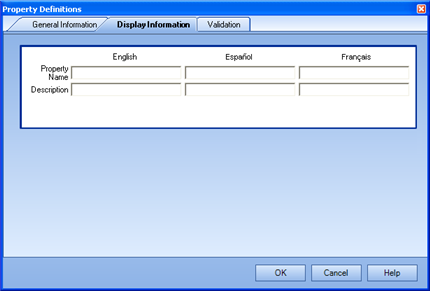
- Click Display Information.
The Display Information tab appears.
-
- Enter the Display name for the property.
- (Optional) Enter a description for the property.
- If another language pack is installed, enter a Display name for each additional language.
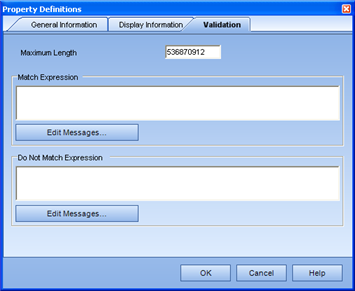
- Click Validation.
The Validation tab appears.
-
- If you would like to limit the maximum size of text that can be entered, update the value in the corresponding field.
- Click OK.
The new property will appear under the originally selected Object in the Object Definitions dialog.
Please Note: The fact that you just created a Custom Property and enabled it, does not mean that it will automatically be shown to all roles immediately. This functionality was designed this way. You must now access the Tools/ Role Permission Sets and select which role(s) should be able to see the Custom Property. To do so, select the Property Permissions tab, and enable the Property.