|
|
Importing Employees can either be completed immediately, or can be set up as a Timed Event. If you are accessing this procedure from the Event procedure, you have likely already configured your import spreadsheet. If this is the case, proceed to step 2 of Import Employees procedure. If you have not configured your import information, start at the beginning.
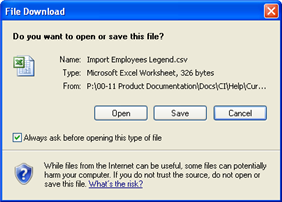
The File Download dialog appears. 

Please note: Do NOT click Open. If you do, the file will open in the Help window, with no way to save any changes you may wish to make.
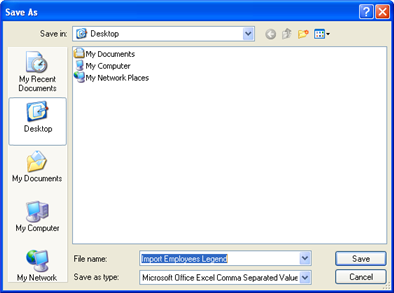
The Save As dialog appears. 

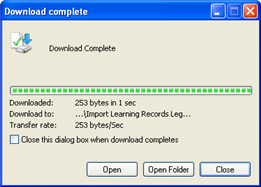
The Download Complete dialog appears. 

The CSV file opens in Microsoft Excel. 

Depending on the type of Employee Property you wish to include in the Import, create the corresponding custom property. Select from one of the following procedures to create your property:
The information for one Employee occupies one row of the spreadsheet.
The Save As dialog appears.
The import will also accept other file types such as .txt, .csv, .xls. However, if you wish to import any special characters (such as accents or unicode), selecting Unicode text is the only format that will import the information properly.
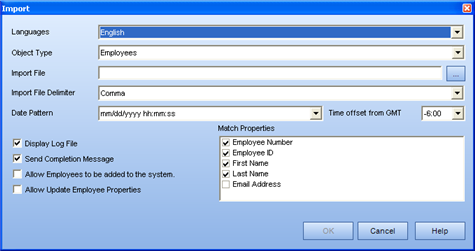
The Import dialog appears. 

 next to the Import File field.
A standard Open dialog appears.
The file name appears in the Import File field.
You can choose from dd/mm/yyyy, or mm/dd/yyyy, or yyyy/mm/dd. Microsoft Excel often reformats your dates after entering them into their respective fields. Verify with your import file that you have the correct pattern selected.
Please Note: The biggest reason for this field is to reconcile dates that could either be dd/mm/yyyy or mm/dd/yyyy. For example, 05/12/2004. Is this meant to be May 12 or December 5. Not selecting the appropriate date format may still import your records properly, however it is advised to check that the formats match - just in case.
An Import Status dialog appears to indicate completion of the process.
An import log appears within an Import dialog. At this point, you may wish to copy/ paste the information into another document. This information will indicate how many records were successfully imported, how many were unsuccessful, and of those unsuccessful - where the problem occurred.
If you (the person who is currently logged into TRACCESS) have a valid email address in your Employee Profile, the import log information will also be sent to your email address.
|
|
|
|