|
|
Using the archive functionality removes employees from your Org structure so they are not counted against your license count, but still lets you restore their records if/when required.
Archiving Employees can either be completed immediately, or can be set up as a Timed Event. If you are accessing this procedure from the Event procedure, you have likely already configured your import spreadsheet. If this is the case, proceed to step 2 of Archive Employees procedure. If you have not configured your archive information, start at the beginning.
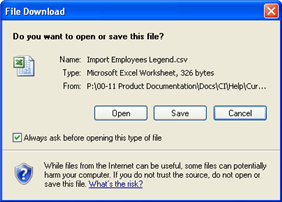
The
File Download dialog appears. ![]()
Please note: Do NOT click Open. If you do, the file will open in the Help window, with no way to save any changes you may wish to make.
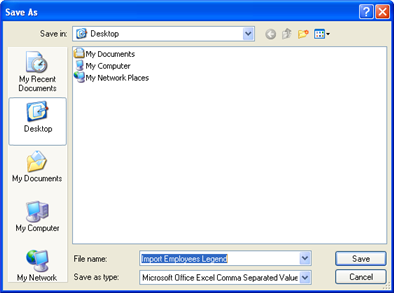
The
Save As dialog appears. ![]()
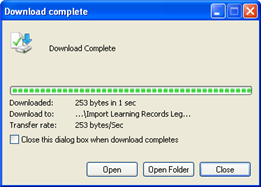
The
Download Complete dialog appears. ![]()
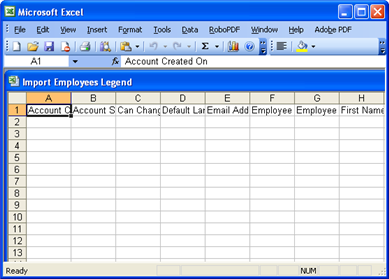
The
CSV file opens in Microsoft Excel. ![]()
The information for one Employee occupies one row of the spreadsheet.
The Save As dialog appears.
The import will also accept other file types such as .txt, .csv, .xls. However, if you wish to import any special characters (such as accents or unicode), selecting Unicode text is the only format that will import the information properly.
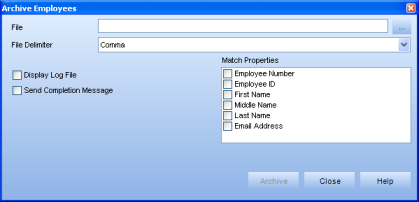
The Archive Employees
dialog appears. ![]()
A standard Open dialog appears.
The file name appears in the File field.
If you selected the Display Log File Option, the View Archive Employees Log will appear. You can copy & paste this information into another document, or if you selected the Send Completion Message, this information is sent to your email. This log indicates how many records were successfully imported and the amount of warnings and errors. For more info, visit View Archive Log.
Click Close.
-or-
If your did not select the Display Log File option, a dialog will appear indicating whether or not your import was successful.
Click OK.
Note: If you selected the Send Completion Message only, you will receive the log file information in your email.
Your archive is now complete.
![]()