|
|
|
|
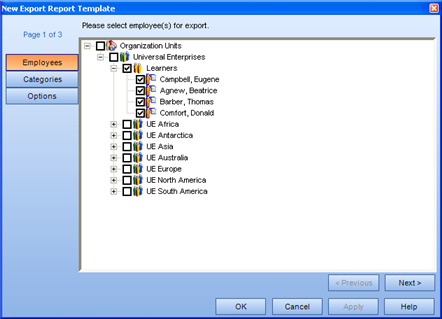
The New Export Report Template - Employees dialog appears. ![]()
Selecting to report on an object that contains descendants will report on the descendants also. For example, selecting to report on Organization Units will report on all the Learners within the Organization Unit. Selecting to report on Employees only will report on the individual Employees.
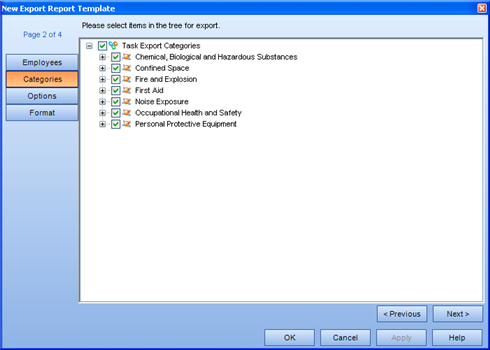
The New Export Report Template - Categories page appears. ![]()
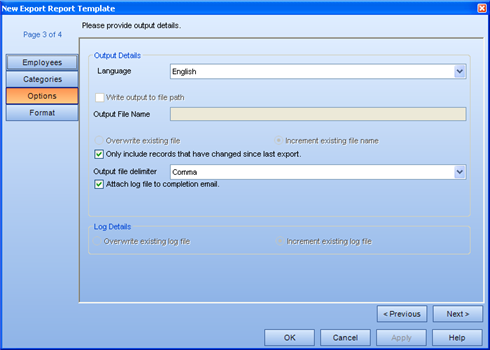
The New Export Report Template - Options page appears.![]()
(optional) If you are exporting the Task Category information to subsequently import it into an ERP system (and this functionality is to be automated at a particular time), a setting in the database must be enabled in order for a file to be written to a location on the server. If this option is enabled, checking the Write Output to File Path field allows you to enter a name in the Output File Name field. By default, this option is disabled - since you would not be writing a file to an Intranet location, but to a Server location. Since most people do not have access to files that are created on the Server, Task Export files could accumulate on the server and affect the performance of your system. Contact TTG Systems Technical Support for more information on automating a Task Category Export with an import of this information within your ERP system.
If your system has been configured to allow a Output file name to be entered, you can also set whether to Overwrite the Existing file, or Increment the existing file name. This is also the case for the log file that is generated (that you can either select Overwrite Existing Log File or Increment Existing Log File.
After an export report has been generated, the system attaches a Last Generated date to the results. Checking the Only Include Records that have Changed Since Last Export takes this date on which to base its information. For example, on January 30, 2000, Eugene Campbell was complete on the First Aid category. Another Export Report was subsequently generated (on February 28, 2001) using Eugene Campbell on the First Aid category and the Confined Space category. Since Eugene's status on the Tasks in the First Aid category have not changed, the Task Export will report only on the Confined Space category. If you wish for all of the statuses to be reported on again, you can clear the Last Generated date in the Properties section. Therefore, the Only include records that have changed since last export will not have any date from which to base the "Last Export".
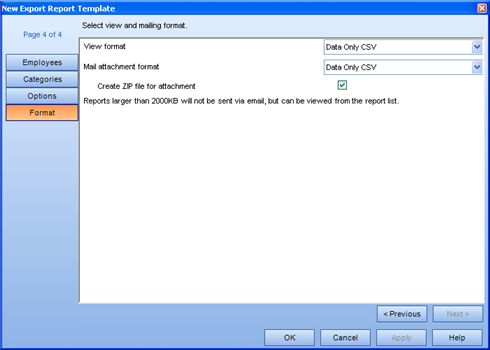
The New Export Report Template - Format page appears. ![]()
This is the format that the report will be displayed within the TRACCESS application. The possible format is: Data Only CSV.
This is the format that the report will generated in to be sent to your email Inbox. The possible format is: Data Only CSV.
Please note: This will decrease the overall file size allowing you to generate and receive larger reports. However, you may wish to check whether or not attachments with a *.zip extension are currently being blocked by your email system before checking this option.
If the generated report is larger than the value shown in this dialog, you will receive a message indicating the completion status of the report, and that it was unable to include the attachment due to its size. In this case, you can still view the report within TRACCESS, and subsequently export it.
The template will appear in edit mode under the Export heading.
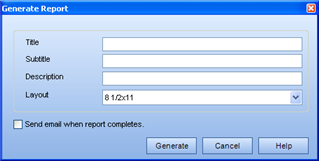
The Generate Report dialog appears.![]() The Title field is populated with the name of the template.
The Title field is populated with the name of the template.
In the context view, a new report appears in the Generated Reports box. While the report is generating, ![]() appears in front of the report name. This icon changes to a
appears in front of the report name. This icon changes to a ![]() icon once the report is generated.
icon once the report is generated.
|
|
|
|