|
|
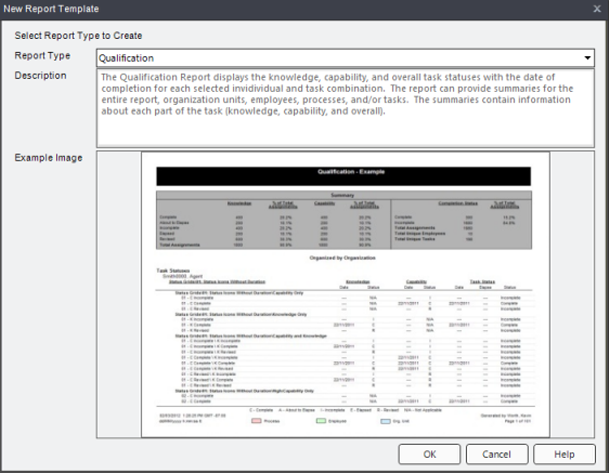
The New Report Template dialog appears with the Qualification
report type selected by default.
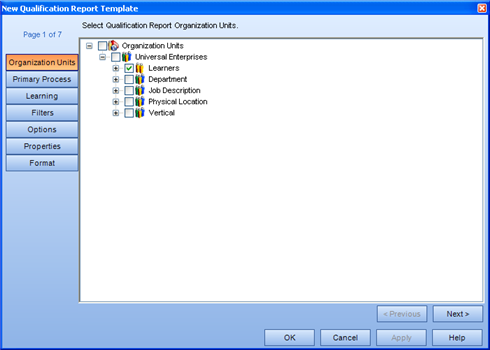
The
New Qualification Report Template - Select Org Units page appears.
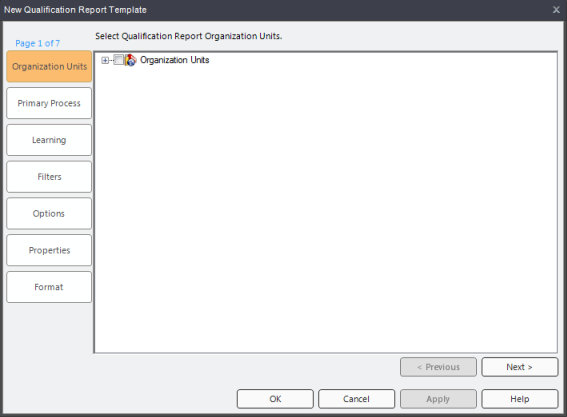
Selecting to report on an object that contains descendants will report on the descendants also. For example, selecting to report on Organization Units will report on all the Learners within the Organization Unit. Selecting to report on Employees only will report on the individual Employees.
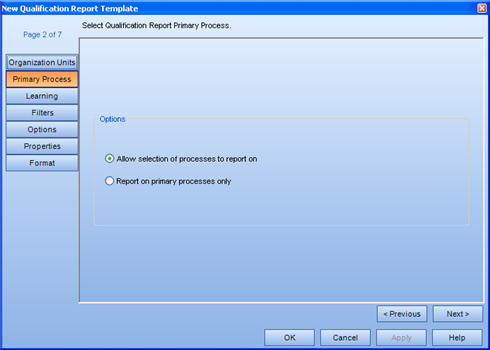
The
New Qualification Report Template - Primary Process page appears.
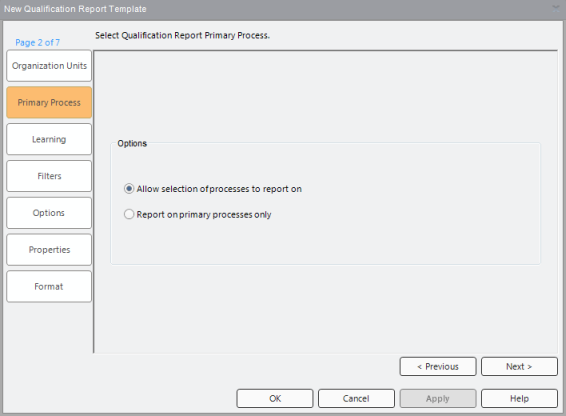
The system allows each employee to be assigned their own primary process. A primary process is the one that will automatically open when the employee accesses their My Job tree.
If you select Allow selection
of processes to report on, the
New Qualification Report Template - Learning page appears.

If you select Report on default processes only, the wizard opens directly to the New Qualification Report Template - Filters page.
Selecting to report on an object that contains descendants will report on the descendants also. For example, selecting to report on Process Sets will report on all the Processes, Sub Processes and Tasks within the Process Set. Selecting to report on Tasks only will report on the individual tasks.
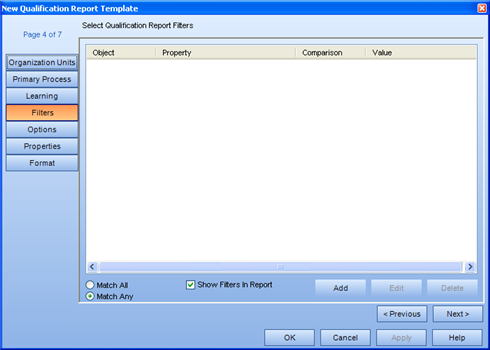
The New Qualification Report Template - Filters page appears.
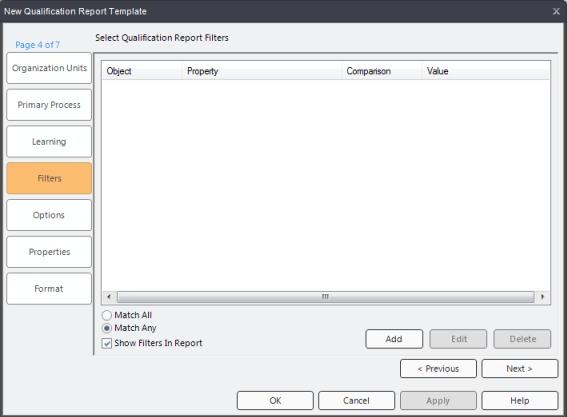
For more information on using Filters, see Report Filters.
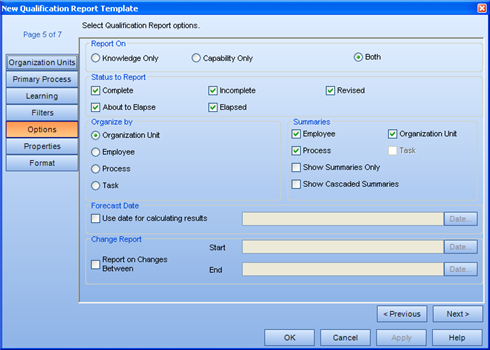
The
New Qualification Report Template - Options page appears.
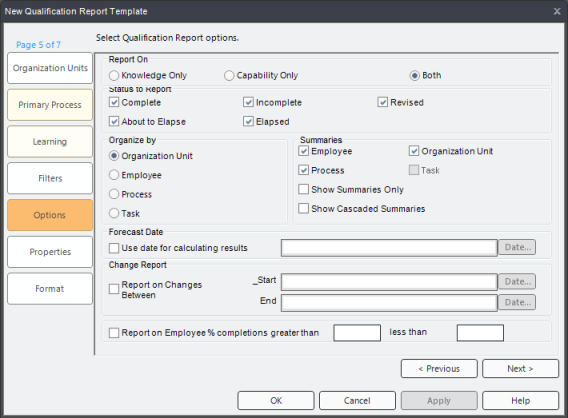
Both is selected by default.
All statuses are selected by default.
Organize Results by Organization Unit is selected by default.
Forecast Reports deal with Tasks containing durations. The purpose of a forecast report is to answer the following question: If no learning was to occur between now and a certain date, how many Tasks containing durations will either be about to elapse or elapsed? Please note that since this is a specific date in the future, to re-use this template, you may wish to Edit the date before generating another report instance.
Change Reports deal with status changes occurring between specified dates. Any status change (that was previously selected) that occurs during this time will appear in the generated report. Please note that since these are specific dates, to re-use this template, you may wish to Edit the dates before generating another report instance.
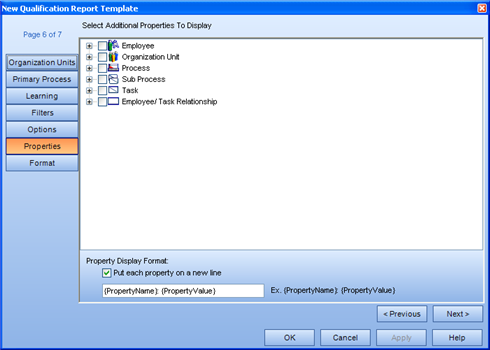
The
New Qualification Report Template - Properties page appears.
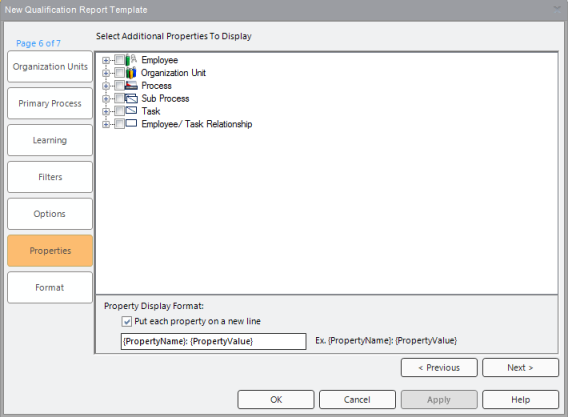
For more information on using and displaying report properties, see Report Properties.
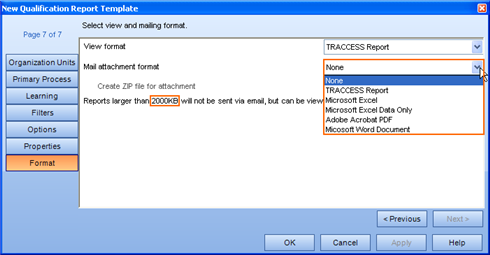
The
New Qualification Report Template - Format page appears.
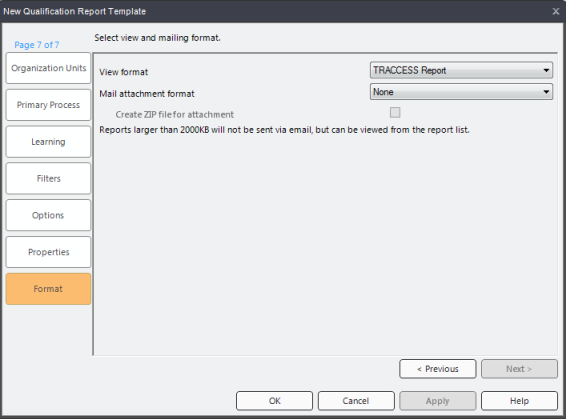
This is the format that the report will be displayed within the TRACCESS application. The possible formats are: TRACCESS Report, Microsoft Excel, Microsoft Excel Data Only, Adobe Acrobat PDF and Microsoft Word Document.
This is the format that the report will generated in to be sent to your email Inbox. The possible formats are: TRACCESS Report, Microsoft Excel, Microsoft Excel Data Only, Adobe Acrobat PDF and Microsoft Word Document.
Please note: This will decrease the overall file size allowing you to generate and receive larger reports. However, you may wish to check whether or not attachments with a *.zip extension are currently being blocked by your email system before checking this option.
If the generated report is larger than the value shown in this dialog, you will receive a message indicating the completion status of the report, and that it was unable to include the attachment due to its size. In this case, you can still view the report within TRACCESS, and subsequently export it.
If neither the Forecast Report or Change Report has been used, the report template will default to the current date.
The template will appear in edit mode in the context view.
A list of templates appears in the context view.
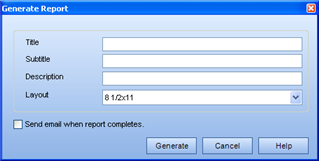
The
Generate Report dialog appears. The
Title field is populated with the name of the template.

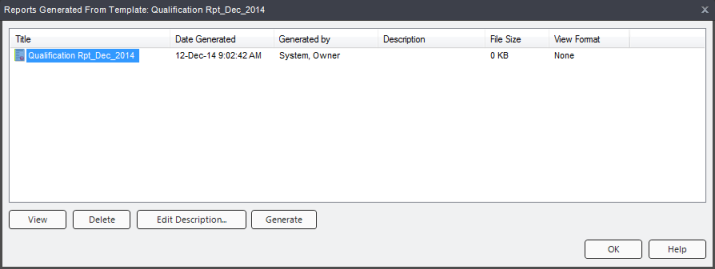
A
Reports Generated from Template: [Report title] dialog appears with the
generated report selected. From the dialog you can choose to view, delete,
or edit the description of the report. Then you can choose to generate
another report from the template.
A list of reports appears in the context view.
Related Help