|
|
|
|
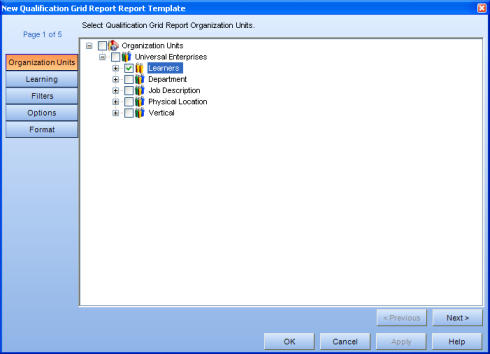
The New Qualification Grid Report Template - Select Org Units page appears. ![]()
Selecting to report on an object that contains descendants will report on the descendants also. For example, selecting to report on Organization Units will report on all the Learners within the Organization Unit. Selecting to report on employees only will report on the individual employees.
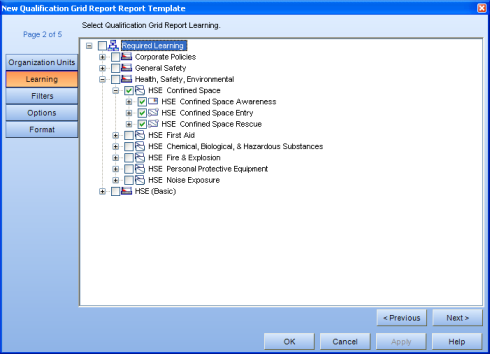
The New Qualification Grid Report Template - Learning page appears. ![]()
Selecting to report on an object that contains descendants will report on the descendants also. For example, selecting to report on Process Sets will report on all the Processes, Sub Processes and Tasks within the Process Set. Selecting to report on Tasks only will report on the individual tasks.
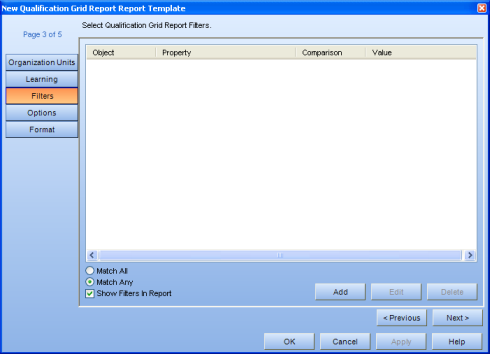
The New Qualification Grid Report Template - Filters page appears. ![]()
For more information on using Filters, see Report Filters.
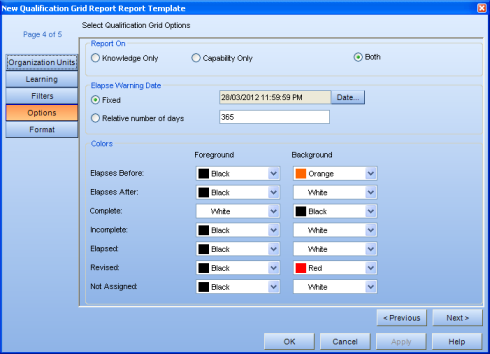
The New Qualification Grid Report Template - Options page appears. ![]()
Both is selected by default.
This report can have one of two types of dates:
Fixed - A fixed date generates data based on one specific date. For example, a fixed date of March 1st will return data about the tasks that are "About to Elapse" or "Elapsed" before and after March 1st from the time the report is generated. To set a fixed date, click on the "Fixed" radio button, and then click on the "Date..." button and choose a date from the calendar dialog.
Relative number of days - A relative number of days generates data based on a certain number of days from when the report is generated. For example, "30 days" will return data about the tasks that are "About to Elapse" or "Elapsed" 30 days from when the report was generated. To set a relative number of days, click on the "Relative number of days" radio button and enter a value in the text field.
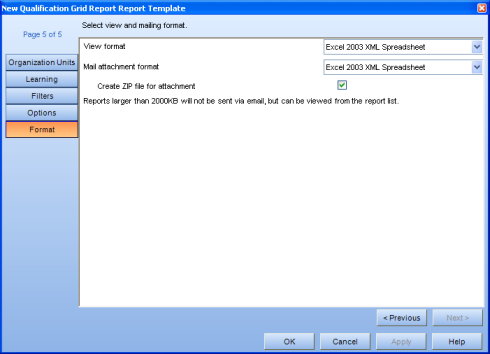
The New Qualification Grid Report Template - Format page appears. ![]()
This is the format that the report will be displayed within the TRACCESS application. The possible format is: Excel 2003 XML Spreadsheet.
This is the format that the report will generated in to be sent to your email Inbox. The possible format is: Excel 2003 XML Spreadsheet.
Please note: This will decrease the overall file size allowing you to generate and receive larger reports; however, you may wish to check whether or not attachments with a *.zip extension are currently being blocked by your email system before checking this option.
If the generated report is larger than the value shown in this dialog, you will receive a message indicating the completion status of the report, and that it was unable to include the attachment due to its size. In this case, you can still view the report within TRACCESS, and subsequently export it.
The template will appear in edit mode under the Qualification Grid heading.
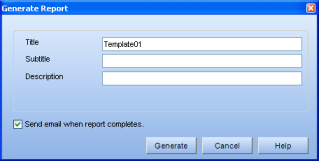
The Generate Report dialog appears. ![]() The Title field is populated with the name of the template.
The Title field is populated with the name of the template.
In the context view, a new report appears in the Generated Reports box. While the report is generating, ![]() appears in front of the report name. This icon changes to a
appears in front of the report name. This icon changes to a ![]() icon once the report is generated.
icon once the report is generated.
Additional Help:
Interpret Qualification Grid Report